
How to swap images
This article is about how to swap/add images in Squarespace
*🖼️ You will find screenshots for each step, customized to the specific template you've chosen.
From any page on your site:
Go to edit mode.
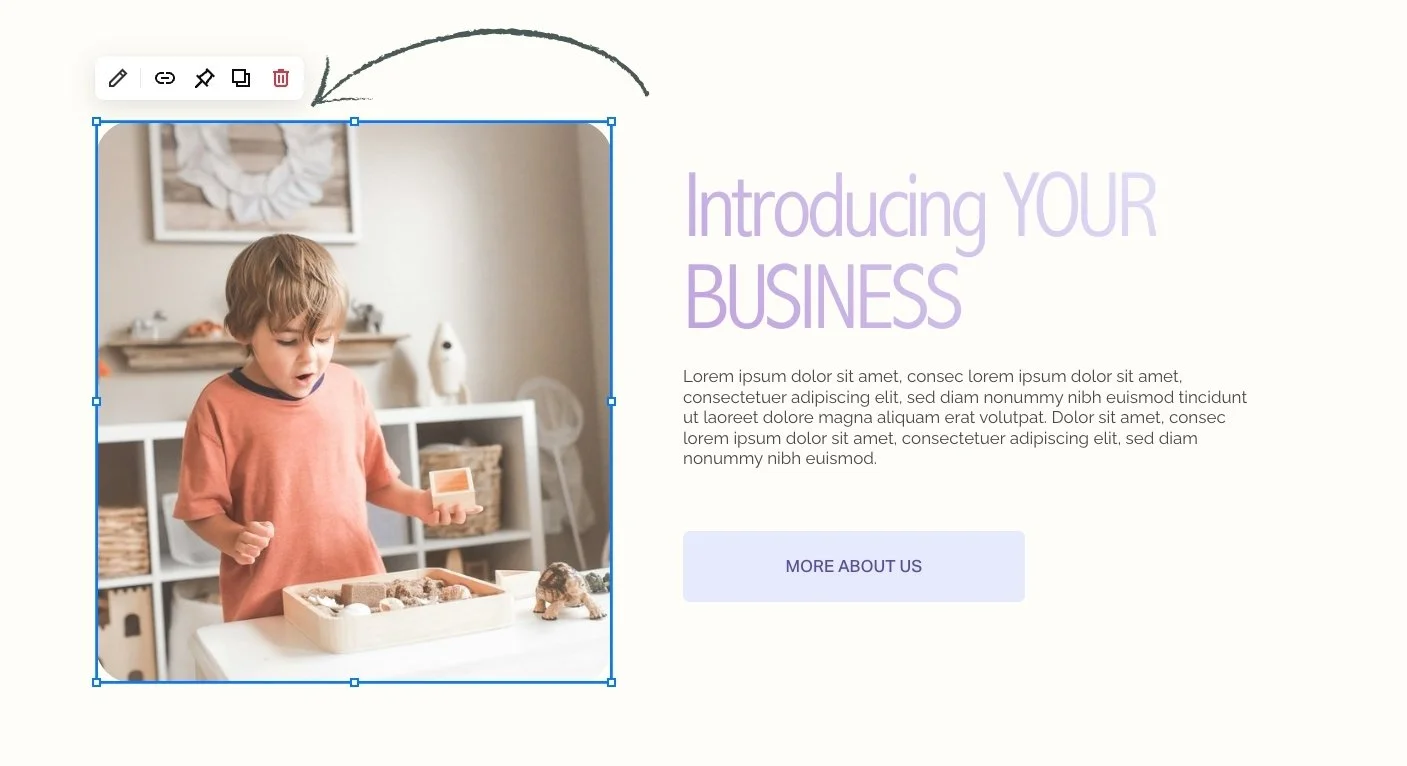
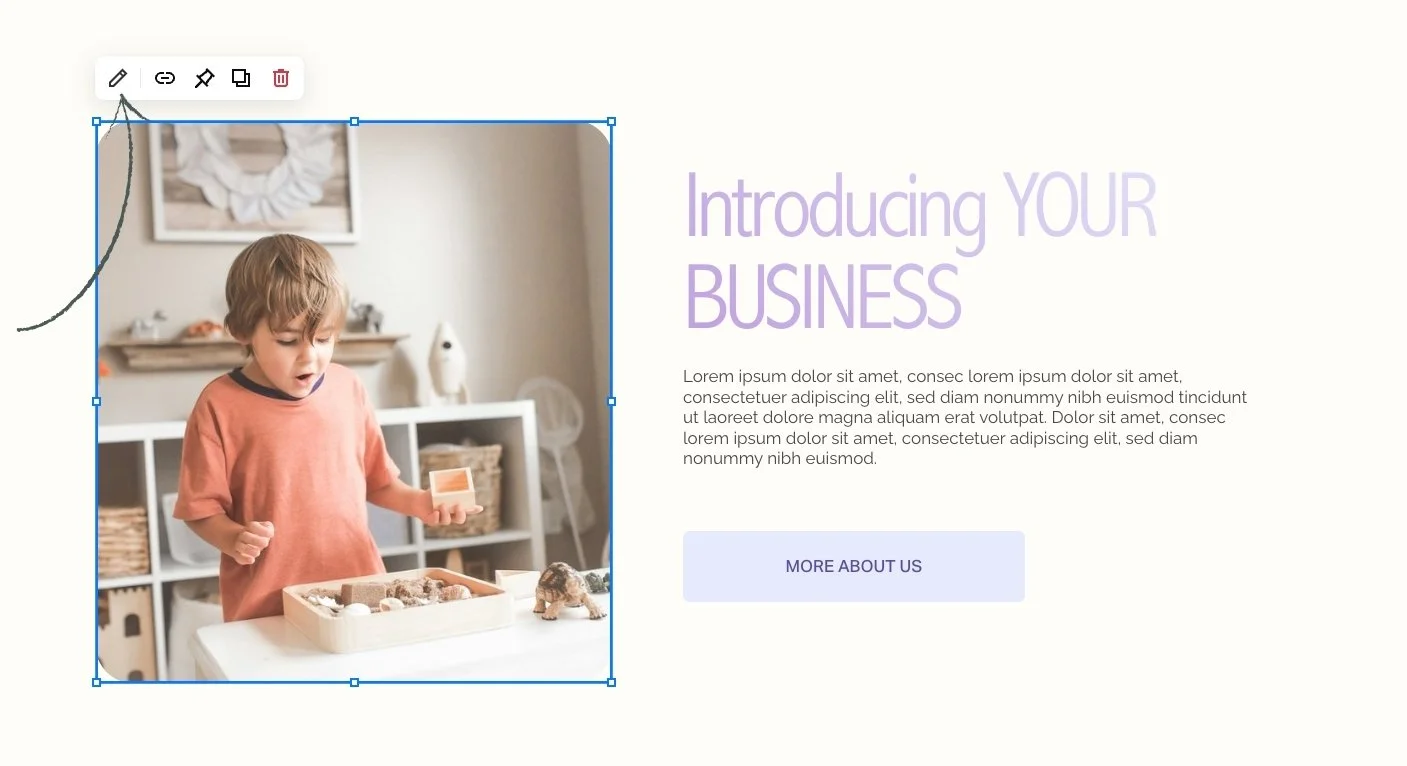
Select the Image Block and you’ll see a little menu pop up. That will have a pencil icon.
Click the pencil icon, which will bring up a settings pop up.
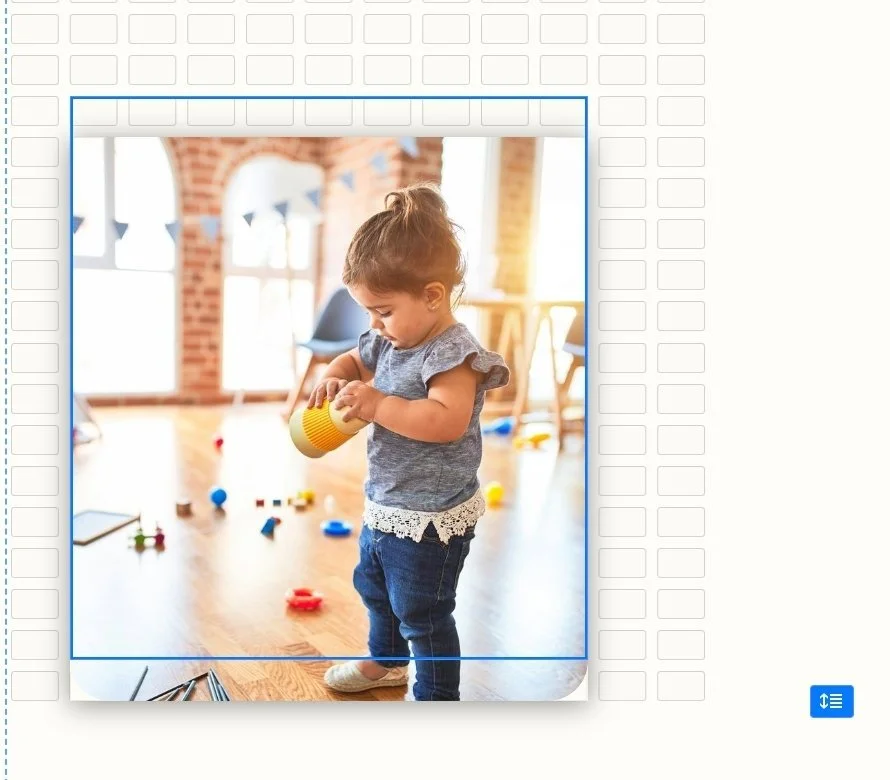
This is where you can customize the settings for that Image Block.


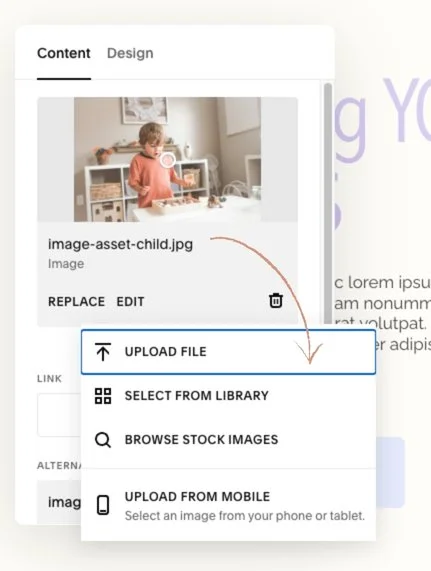
• Here is where you can replace the image:
Click replace and then you can upload an image, select one from your library, or browse stock images available through Squarespace.

• To add an image block to your section:
Hover over the section.
Click Add Block button on your left-hand side.
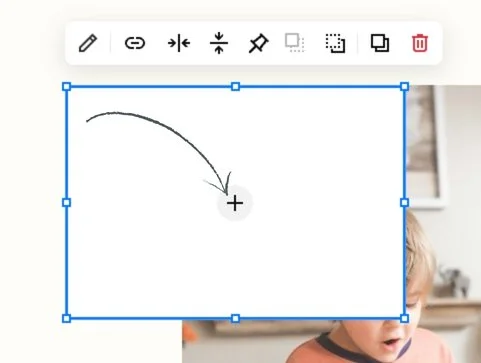
Select Image and an Image Block will appear.
Click the + icon on the Image Block and then you can upload an image.

• Wherever you add blocks in Squarespace, you can move blocks around to customize the layout.
To move a block:
Hover over the block you want to move. When the cursor becomes a hand, click and drag the block to move it around the page. If the hand doesn't appear, click the block first.
• As you drag the block, use the guidelines that appear to choose the new placement.
• You can move a block within the Section area where it was added. It's not possible to move blocks between Pages or separate Section areas.

💡Make sure when you’re editing, you are constantly pressing the Save button before you exit.